GPX CREATOR
Make a GPX using TrailVidz GPS points
with TrailVidz GPX-Hub
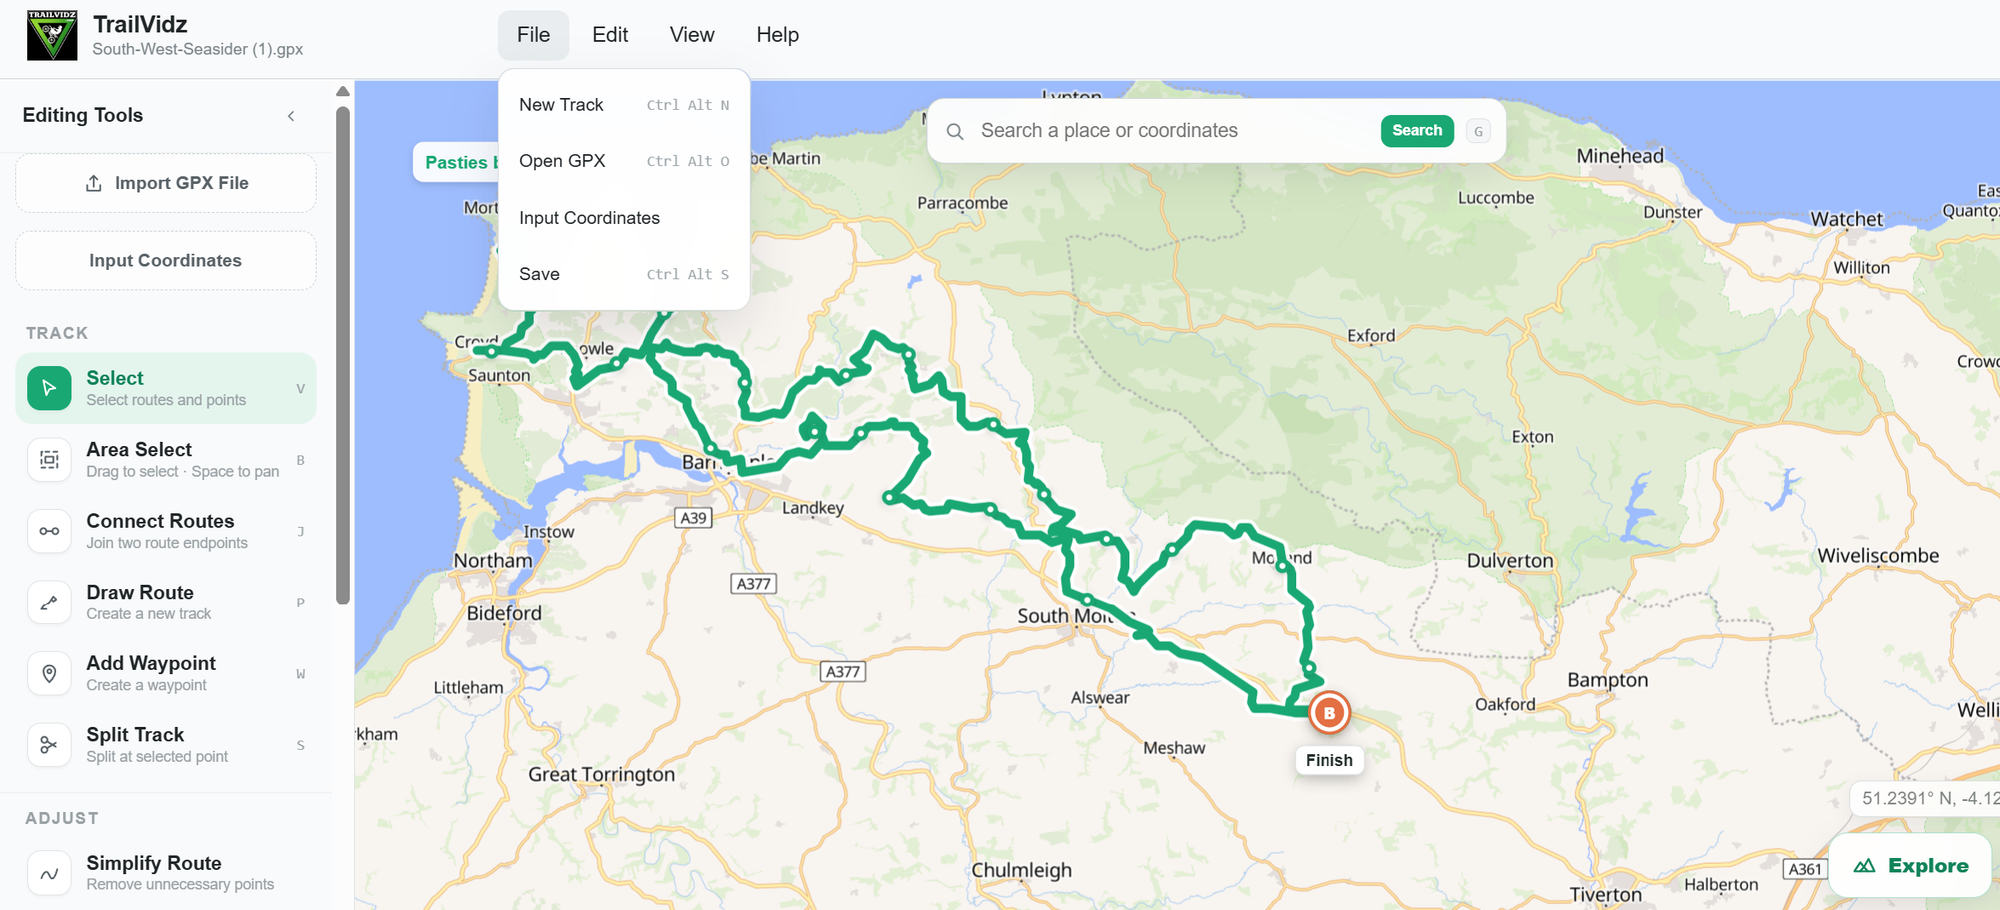
In this process, you use the GPS co-ordinates from each TrailVidz pin on your intended route to create a sequential waypoint list in TrailVidz GPX-Hub which instantly converts the list to a GPX.
Then you fine-tune the route by clicking and dragging the points to closely fit the roads, before you export the file to your satnav or GPX viewer.
These tools are intended for use on a desktop computer and screen. Click here if you wish to try to use it on a phone.
Create the route from TrailVidz GPS data
Go to TrailVidz GPX-Hub
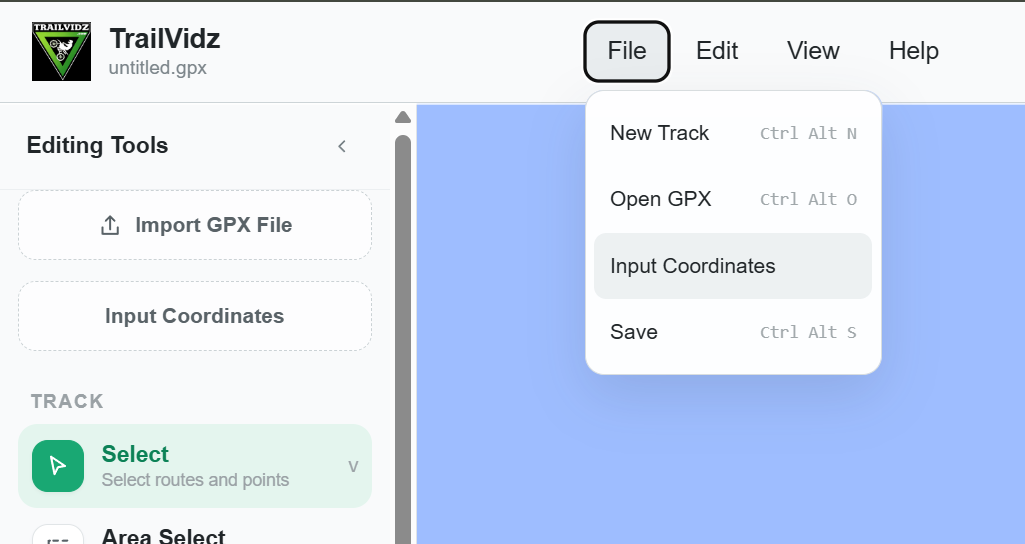
- Click Input Coordinates (or go File/ Input Coordinates)
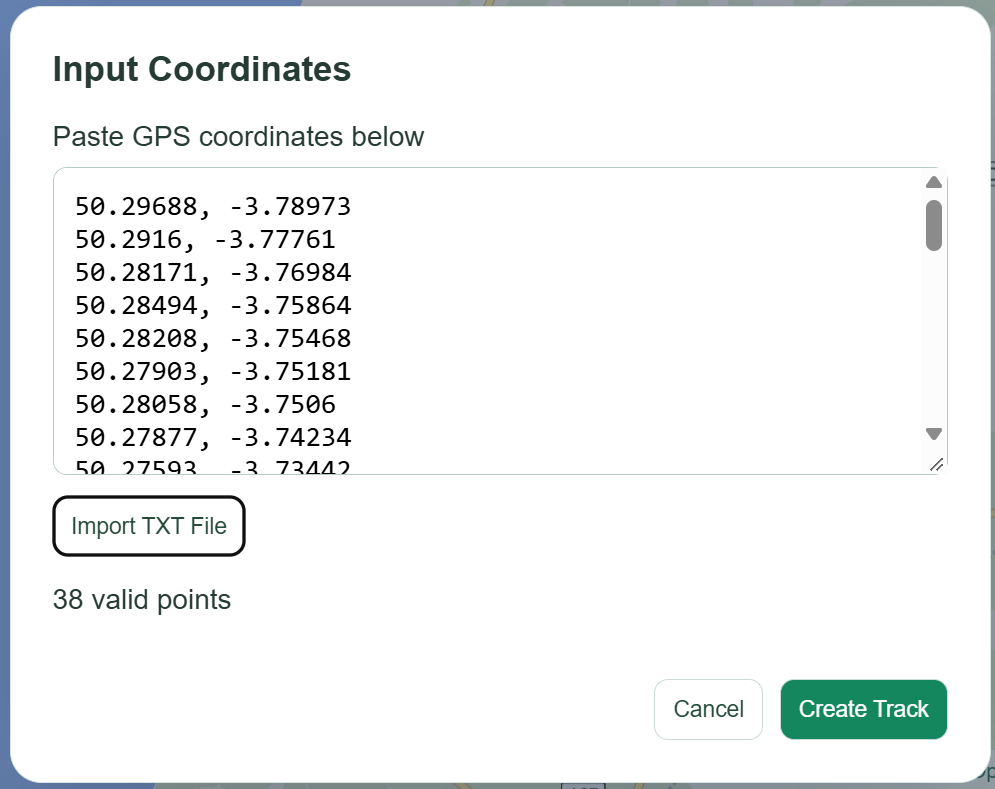
- Copy and paste each GPS co-ord from your intended route, in order, into the work space and press Create Track (or import a ready-made .txt file)
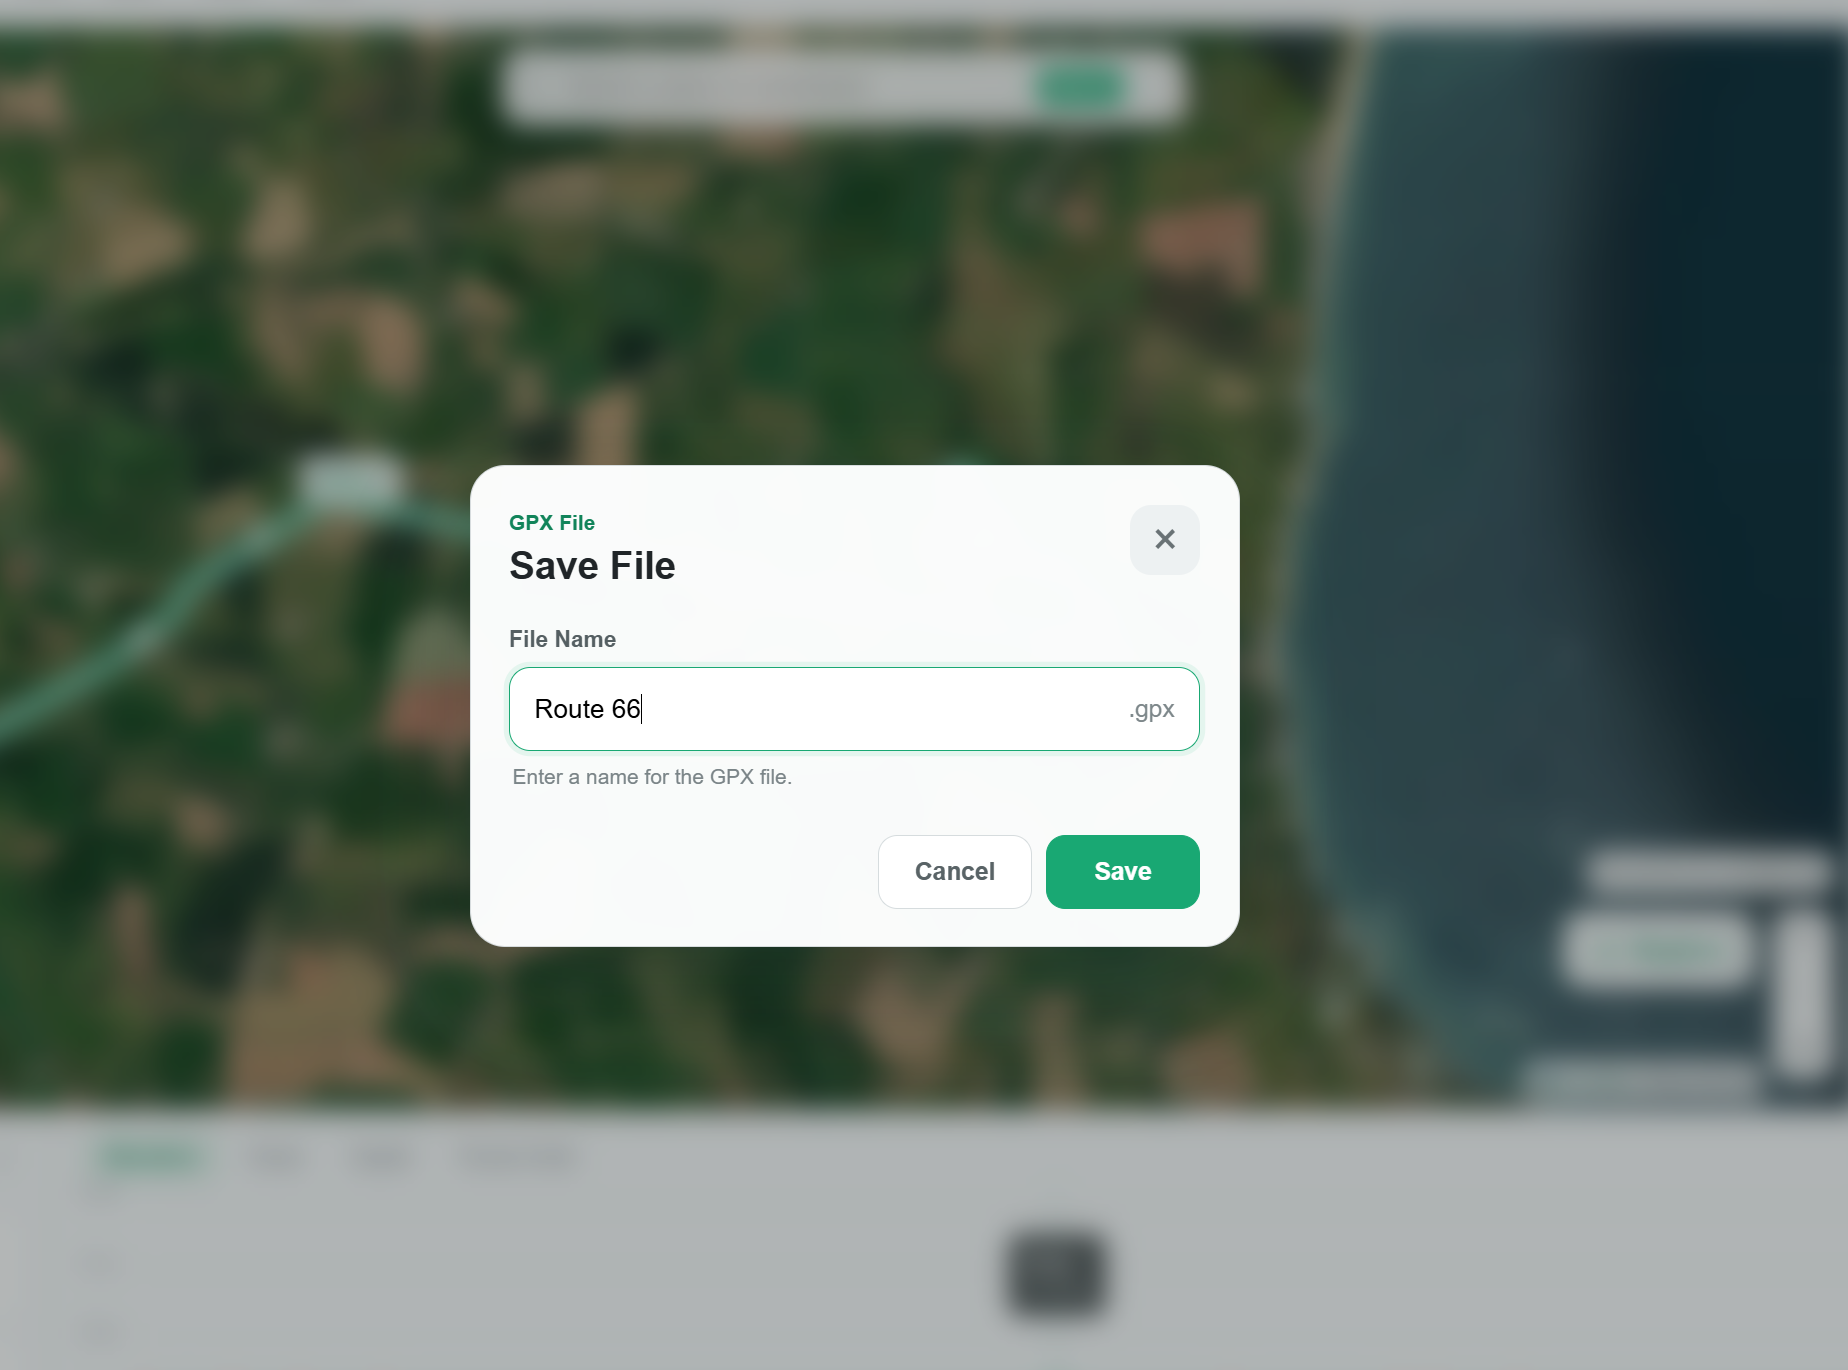
Then click top right on Save, in order to name your file and save a copy in your Download folder.
Edit the GPX file
The new route will appear onscreen.
It will be angular with only straight lines.
Each corner is the start or end of a lane.
Shape the line to follow trails and roads more closely.
Start by shaping all the trails. Refer to the TrailVidz map for trial shape.
Then edit the connecting road route.
Save changes and copy the GPX file to your satnav/Garmin/OsmAnd etc in the usual way.

You can follow a GPX file on any mobile device for free using GPXViewer. Search in App Store / Play Store
Practise editing a GPX file
Watch a 43 sec video: Open/Edit/Save a GPX
Watch a 3 min demonstration video.
Detailed instructions (for a desktop user)
Click the button Input Coordinates
Make a GPS list
Copy and paste GPS co-ords from TrailVidz map pins, in route order, into the work space. Switch between windows using Alt+Tab (PC) or Command+Tab (Mac).
Select a map pin co-ordinate: using the mouse double-click or triple-click.
Copy that selection using Ctrl+C
Switch to the workspace window and paste on a new line Ctrl+V
Switch back and forth using Alt+Tab
For any mistake, Undo is Ctrl+Z. Use this repeatedly to reverse previous steps.
When the list is complete, click the green button Create Track.
Edit the track
The route track will appear onscreen.
The track will be angular and needs sculpting (editing).
Tip: edit the off-road sections first. You can switch back and forth with the TrailVidz map as necessary.
Click and drag the line's dots ('handles') into position along the road or trail. Mid-point handles appear between main dots. Click these to make them full points and new mid-points will appear on the line. More points gives more editing detail. Always put a handle exactly on a corner or turn in the road.
Use the satellite and contour maps to help understand the topography of the trail sections.
To get a 3D fly-over view which shows the terrain surrounding your track, click the Explore button bottom right corner of the map screen.
When the lanes are sculpted, edit the remaining lines along the road route connecting the lanes.
Press Save, name the finished GPX. The file will be found in your Download folder in your computer's file manager.
Copy the GPX file to satnav/Garmin/OsmAnd in the usual way.
Tip: for riders using handlebar navigation on a tablet or mobile phone, send yourself an email from your desktop with the GPX as attachment, then open the email on your device and download the GPX.
For following the route on a device, we recommend using a free app called GPXViewer because it is very simple to use. See the Play Store/App Store.
Ensure you are using legal roads
Users take full responsibility for the accuracy and legality of their final GPX files.